View Boston Observation Deck Ticket Planning: A 4-Step Guide
The fastest way to overpay for the View Boston Observation Deck is to pick a ticket tier before you've figured out what kind of day you're actually having.
The cheapest entry — the Standard timed slot — runs the lowest list price because it asks the most of you: a fixed entry window, a single-use scan, no re-entry after you leave, and no on-site place to stash the bag that doesn't fit the size policy. That's the trade-off nobody puts on the comparison chart.
Tickets and prices
View Boston Observation Deck
Boston
01 · GetYourGuide
Entry ticket · 1.5 hours
USD33.68
02 · Official
Official ticket · Sips & sights experience
USD48
Box office and online booking
View Boston Observation Deck — At the box office
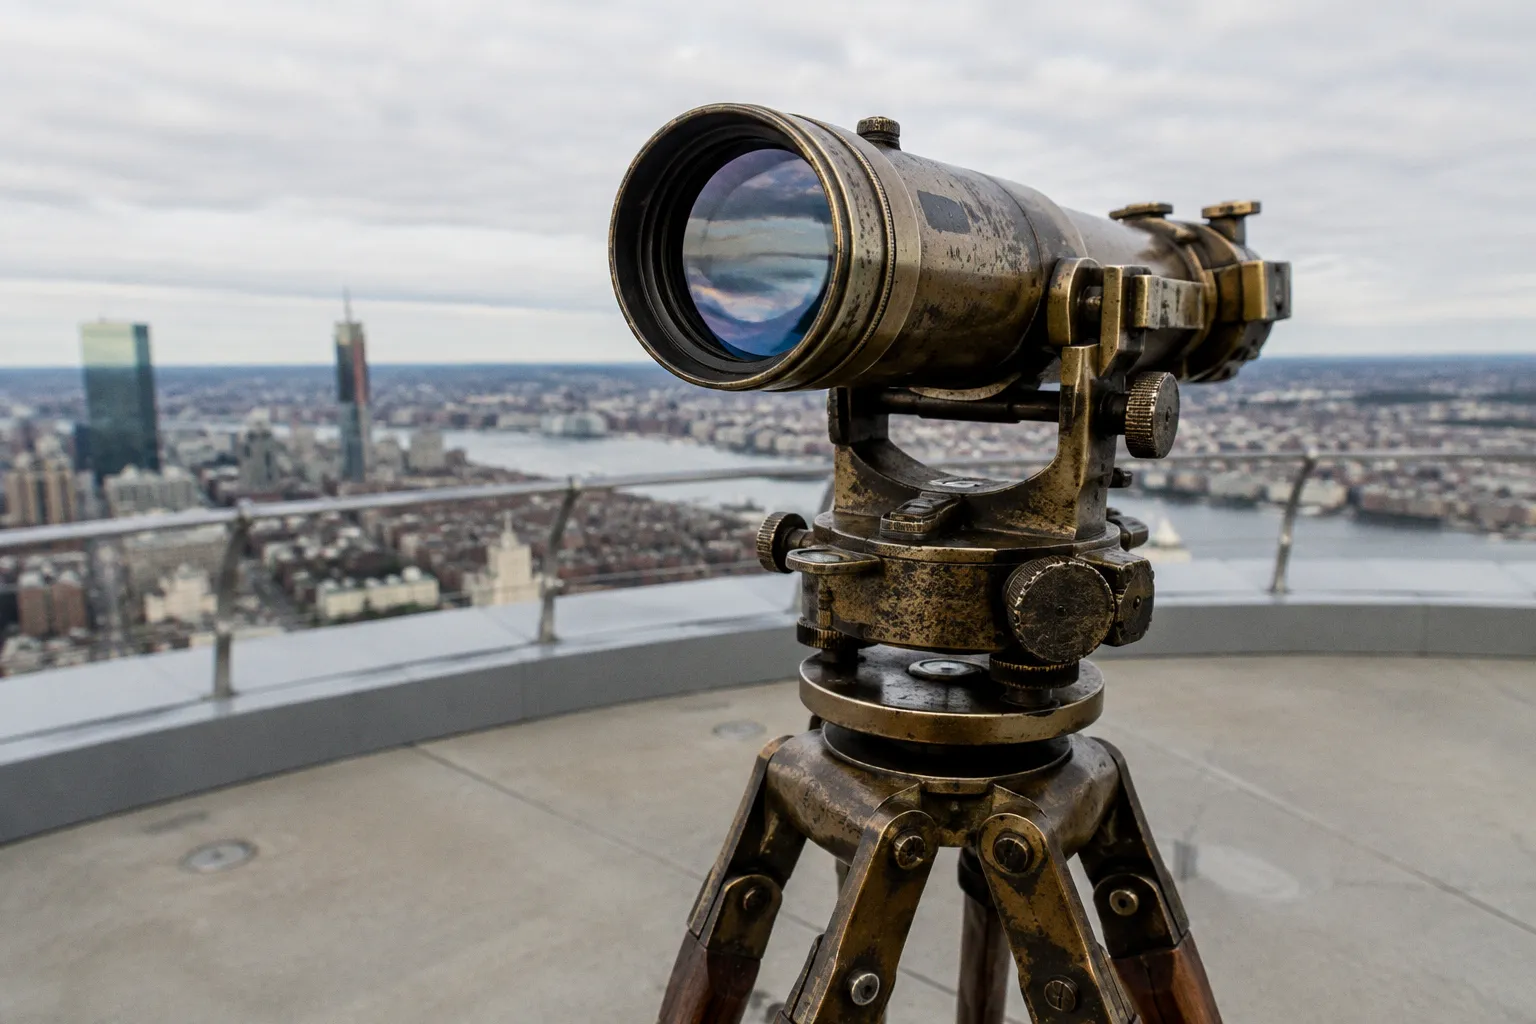
The deck itself sits 750 feet above Boston on the top three floors of the Prudential Tower at 800 Boylston Street, in the Back Bay neighborhood near Prudential Station. The 360-degree panoramic views, the indoor and outdoor viewing decks, and The Cloud Terrace rooftop are identical on every paid ticket. What changes between tiers is access logistics — when you can enter, whether a drink is included, whether the day has to hold a fixed window. The question isn't "which ticket?" It's "which version of the day can you really commit to?"
Step 1: Pick the Tier That Matches the Day, Not the Mood
Behind the longer menu, View Boston at Prudential Center runs on two real products. The first is the Standard View Experience — base admission to the decks, timed entry included. The second is the experience overlays (Sips & Sights, family passes, group rates) that ride on top of the base. Knowing this saves you from overthinking the tier names. Most of them don't change what you see; they change what you get alongside the view.
The Sips & Sights Experience, for example, lands in the higher price band but doesn't unlock a new floor or a longer stay. It includes one beer, wine, or signature cocktail at the bar level — a fair value if you actually want the drink, a wasted premium if you don't.
The third option isn't really a tier, it's a flexibility upgrade: an All-Inclusive ticket on top of any base experience lets you enter at any time during operating hours instead of a fixed slot. That's the version that buys you a hedge against the day running long, the kids dragging their feet, or the lunch that turned into three.
The cheapest ticket is the one that fits the day you actually have.
| What you're choosing | Standard View Experience | Sips & Sights Experience | All-Inclusive upgrade |
|---|---|---|---|
| What you see | Full 360° decks, Cloud Terrace, exhibits | Same as Standard | Same as Standard |
| Drink included | No | Yes — one beer, wine, or signature cocktail | Depends on base tier |
| Entry window | Fixed timed slot | Fixed timed slot | Any time during operating hours |
| Re-entry after exit | Not permitted | Not permitted | Not permitted |
| Booking fee on official site | $3 per ticket | $3 per ticket | $3 per ticket |
| Best for | Visitors with a fixed schedule and a tight budget | Visitors who want a drink with the view and don't mind a fixed slot | Visitors with a flexible day, or anyone burned by a missed slot before |
A few practical notes that don't fit cleanly in the table:
- The booking fee on the official View Boston site is $3 per ticket. Small individually, but it adds up across a group. Third-party resellers bundle their own service fees into the listed price, so the comparison isn't always apples to apples.
- "Standard" doesn't mean "skip the line." It means you bought the base experience. On a busy day you're still queued with everyone else — just inside a smaller window.
- Group and family packages change the unit price, not the experience. If you have four people, compare the family bundle against four Standard tickets before you assume the bundle is cheaper.
The honest read: if you want the view, you want the Standard ticket. Everything else is either a drink, a flexibility upgrade, or a group-rate bundle.
Step 2: Decide Whether You Need an Open Window or a Fixed Slot
The timed-entry system isn't a quirk — it's the operating model. View Boston runs on entry windows because the decks hold a finite number of people and unobstructed sightlines are the product. Show up outside your window and you wait for the next available slot, which on a busy Saturday afternoon could be hours out. Show up late and the gate may release your slot to walk-ups.
The All-Inclusive upgrade flips this. You buy an open-window pass for any time during operating hours that day. The difference is whether noon or 6 p.m. is the moment you walk in, or whether noon or 6 p.m. is a moment you have to explain to the gate agent while standing outside.
When the All-Inclusive upgrade is worth the premium:
- You're in Boston for one day and the only free window is "sometime between lunch and dinner."
- You're traveling with kids, and the day has the structural integrity of wet sand.
- You have a meeting, a tour, or a dinner reservation that could plausibly run long.
- You've already missed a timed entry on this trip and don't want to do it again.
When the fixed timed slot is the smarter move:
- You have a hard window — a morning before a flight, a slot between meetings.
- You're traveling on a budget and don't need the flexibility.
- You've checked the operating hours against your real schedule, not the optimistic one.
One thing the timed-entry page buries: every ticket — Standard, Sips & Sights, All-Inclusive — is single-use. Scan in, you go up. Leave the building for any reason and you don't scan back in. If you're hoping to step out for a coffee in the Prudential Center mall and walk back in for sunset, plan a different coffee.
750 feet up is not the time to discover you can't get back in.
Step 3: Use the ViewPrint Builder, and Don't Try to See Everything
The deck runs on the top three levels of the Prudential Tower. Officially, a typical visit takes 1 to 1.5 hours. That sounds like a budget you can stretch. It isn't. Most visitors do it in closer to 75 minutes if they don't linger, and 90 minutes if they actually engage with the exhibits. Pushing past two hours usually means you missed the sunset you came for.
The ViewPrint itinerary builder is the underrated tool. It's a free planner on the official site that lets you build a route through the exhibits before you arrive — pick the angles you care about, mark the screens you want to read, save it to your phone. Two reasons to use it:
1. The decks are designed so you naturally circle through the main sightlines first, then drift into the interactive and educational exhibits. If you don't know what you want to look at, you spend twenty minutes in front of the touchscreen displays reading about Boston Harbor instead of looking at it.
2. The Cloud Terrace — the open-air rooftop section — gets crowded fast around sunset. If that's your moment, plan to be up there twenty minutes before the sun touches the horizon, not at the moment it touches the horizon.
A practical route for the time you actually have:
- 60 minutes, fast pass: Take the elevator up, do one full loop of the indoor 360° deck, step onto The Cloud Terrace for ten minutes, take the photo you came for, go.
- 90 minutes, recommended: Elevator up, indoor deck loop, twenty minutes on The Cloud Terrace (timed for sunset if that's your window), then the lower-level interactive exhibits on the way down.
- 120 minutes, only if you genuinely want to read everything: Add the historical exhibit on the Prudential Tower and Back Bay neighborhood, and budget time for a drink at the bar level if you bought Sips & Sights.
The single biggest planning mistake is treating the timed entry as if it bought you the whole day. It doesn't. It buys you a window. The hour-and-a-half is the actual product, and ViewPrint is how you spend it well.
Step 4: Read the Bag Policy Before You Leave the Hotel
This is where most of the small disasters happen. View Boston's security screening is tighter than a typical mall entrance, and there are no storage lockers on site. Read that twice. If your bag is over the limit, you don't just slow down — you can't bring it in, and there is no place inside to put it.
The rules:
- Maximum bag dimensions: 25 inches high by 17 inches wide by 9 inches deep. That's standard carry-on or small backpack territory — not roller luggage, not a tote plus a separate shopping bag.
- No storage lockers anywhere on the premises, and no bag check at guest services.
- All bags are screened at entry.
- Larger items, suitcases, and oversized backpacks are turned away at the door.
What this means in practice:
- If you're coming straight from Logan Airport or South Station with a roller bag, you have two options: drop it at a luggage storage service in Back Bay before you go, or skip the deck. There is no third option where View Boston holds it for you.
- If you're staying at a Back Bay hotel, leave the bigger bag in the room. Most rooms have a safe for the small things; the front desk will sometimes hold a checked-size bag for a few hours. Ask first, don't assume.
- If you're coming from a day of shopping at the Prudential Center or Copley Place, the store will hold your bags for you — most retailers will hold a purchase at the register if you ask. Don't try to walk in with a shopping bag full of receipts.
It’s also wise to check View Boston's official website for their most current accessibility information and policies before your visit, especially if you have specific equipment or mobility needs. Planning ahead ensures a smooth experience for everyone.
The Honest Take
Book the Standard ticket online, pick the earliest timed slot you can actually make, and bring only what fits in a normal backpack. Skip Sips & Sights unless you actually want the drink. Skip the All-Inclusive upgrade unless your day genuinely can't hold a fixed window — and most days can, if you let them.
View Boston is one of the cleaner visitor experiences in the city because the operational model — timed entry, single-use tickets, bag screening, no re-entry — is built to protect the views for the people inside it. That same model is what makes the trip a planning exercise instead of an impulse decision.
Treat it like the planning problem it is. Pick the tier that fits the day you have, not the day you wish you had, and the rest takes care of itself.